
How Deep Should Garden Edging Be? What Actually Matters at Install
Getting the depth wrong on garden edging is one of those mistakes that doesn’t announce itself straight away. The edging goes in, everything looks fine, and then three months later the lawn is creeping back into the bed, or the edging is lifting out of the ground on one side, or the whole run has shifted a centimetre off line after a decent downpour.
Depth isn’t the most glamorous part of the installation conversation, but it’s the part that determines whether the edging actually does its job.
The Number People Usually Ask About
The standard recommendation for steel garden edging is 50mm below the soil surface, with the remaining profile sitting above ground to create the visible border. For most residential installs — standard lawn grasses, relatively flat ground, decent topsoil — that works well. It’s enough to anchor the edging against soil movement and gives the stakes something to bite into.
But 50mm is a starting point, not a rule.
Sandy or loose soils need more depth. The edging has no real friction to grip against, so anything less than 75mm tends to shift, especially after watering or rain. Clay soils are the opposite problem — they expand and contract with moisture, which can push edging upward over time if it’s not seated deep enough to resist that movement. In heavy clay, going 75–100mm deep is worth the extra effort at install.
What Grass Type Actually Changes
Couch and kikuyu are the main offenders when it comes to lateral root spread. Both send runners aggressively, and both will find a gap if the edging doesn’t go deep enough to intercept them. Couch in particular has been documented running horizontally 300mm or more below the surface in well-draining sandy soils. A 50mm install depth does almost nothing against that.
For these grasses, 75–100mm of buried edging is the realistic minimum if you want it to function as a root barrier rather than just a visual border. Honestly, a lot of people skip this step and then wonder why the lawn is back in the garden bed by summer.
Buffalo is more forgiving — it doesn’t run as deep and tends to spread above ground more than below it. Standard depth usually holds.
Slope Changes Everything
Flat ground is straightforward. On a slope, the forces on garden edging change considerably, particularly at the lower end of a run where soil pressure builds up. Edging on a slope needs to go in deeper on the uphill face, and the stakes need to be placed more frequently — every 500mm rather than every metre — to stop the profile bowing outward under soil load.
If the slope is steep enough that you’re also managing water runoff, depth becomes even more important. Shallow-set edging on a slope can get undermined by water moving soil underneath it, leaving gaps at the base that grass and weeds use immediately.
Profile Height and Exposed Edge
The depth question connects directly to the profile height you’ve chosen. A 150mm profile with 50mm buried leaves 100mm exposed above ground. That’s a reasonable visible border for most garden beds. But if you’re using a taller profile — 200mm or 250mm — and burying only 50mm, you’re leaving a lot of edging unsupported. The lever effect on taller profiles means any lateral pressure gets amplified, and the edging is more likely to lean or bow without adequate burial depth.
A good rule of thumb: bury at least one third of the total profile height. For a 150mm profile, that’s 50mm. For a 200mm profile, 65–70mm is more appropriate.
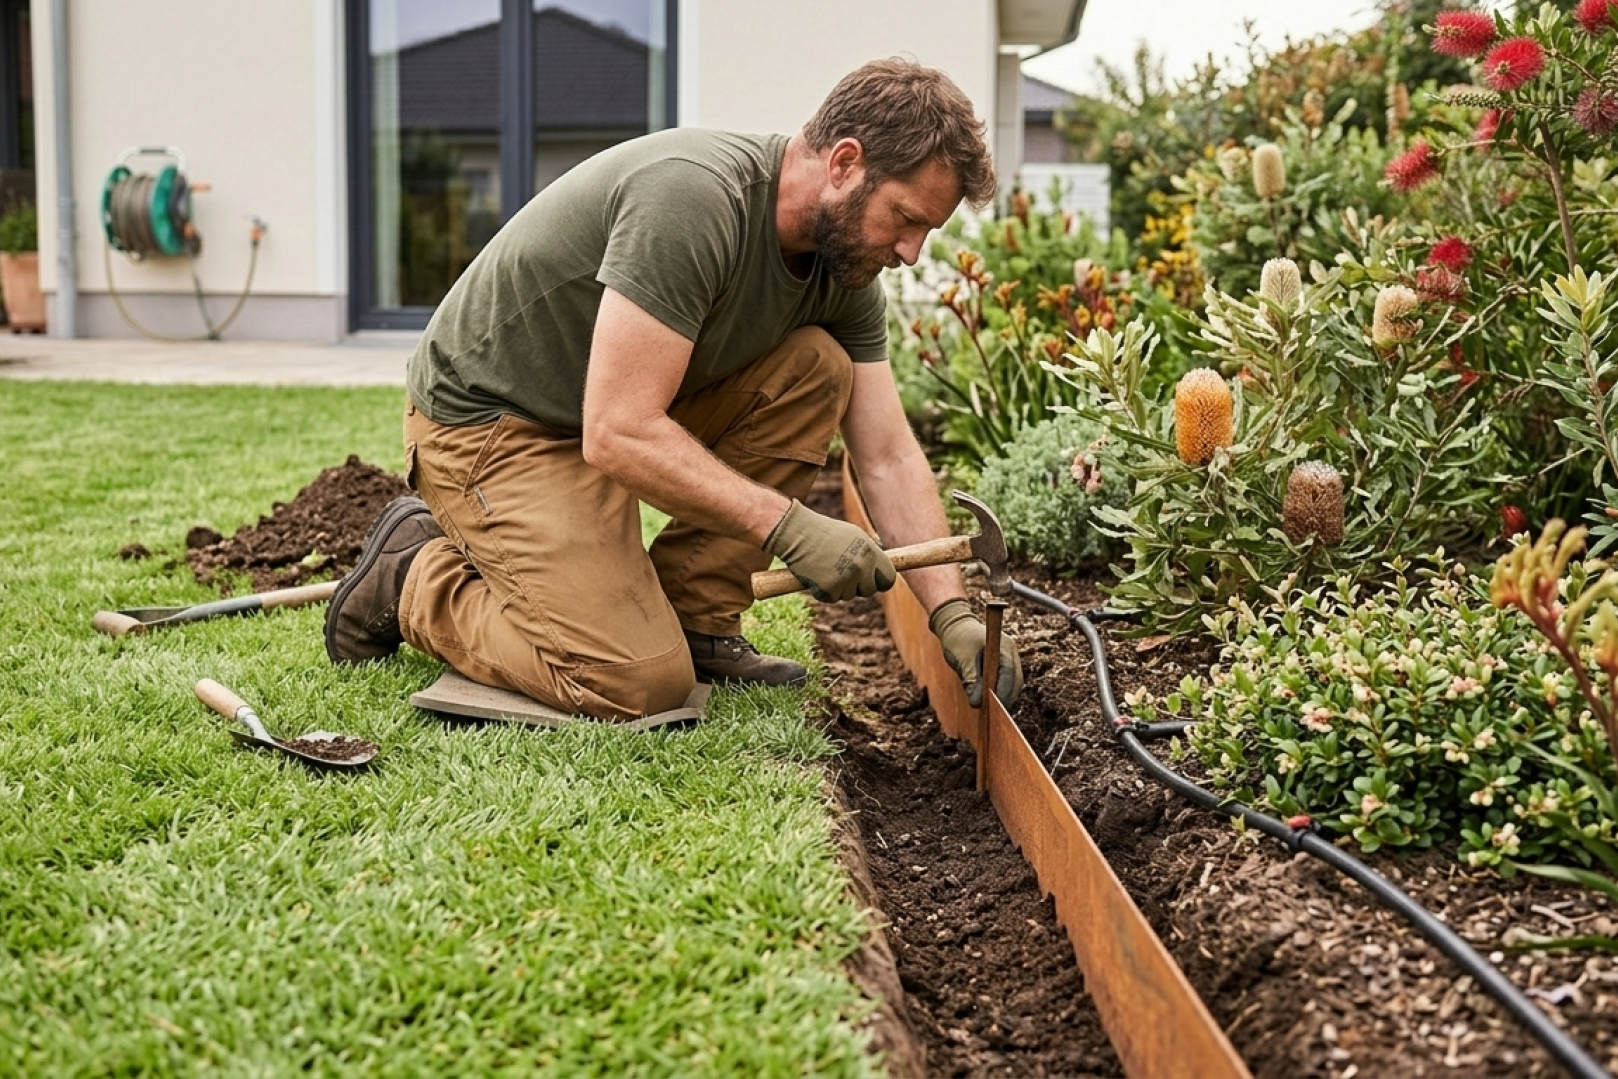
Compact Before You Backfill
The most underrated step in the whole process. Once the edging is positioned and staked, the soil on both sides needs to be compacted back against it before you’re done. Loose backfill lets the edging shift during the first few watering cycles, and the profile can drift out of line before the soil settles naturally. A few passes with a tamper or even a firm boot is enough for most residential installs — it takes two minutes and saves a re-do six weeks later.